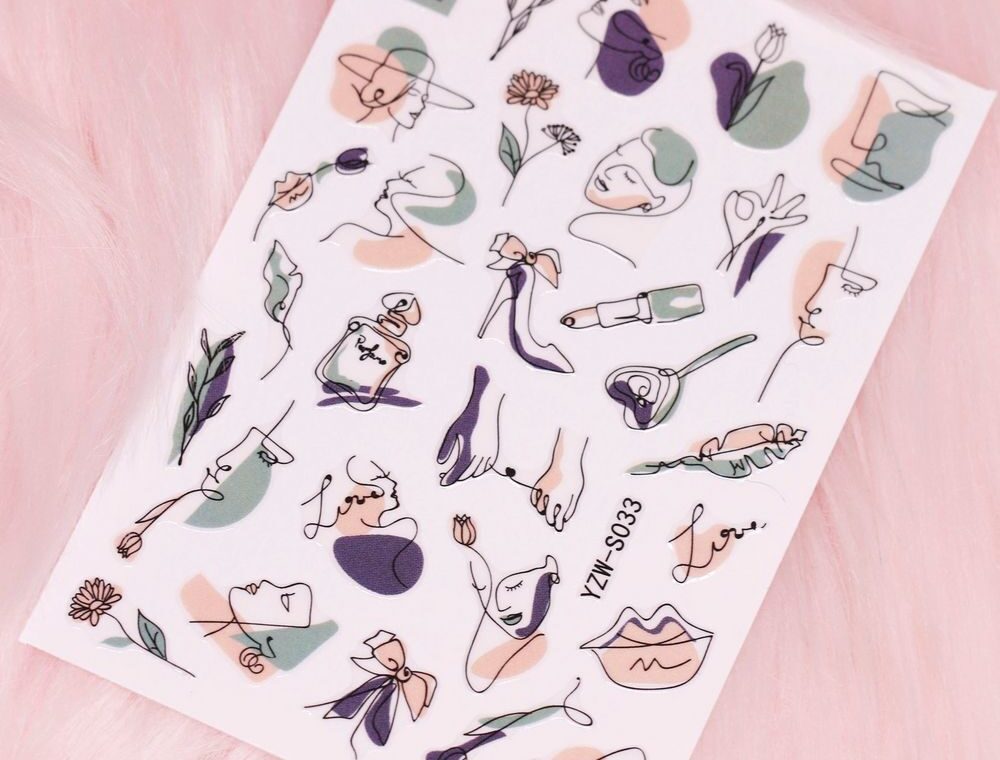
Hand writing nail stickers are a quick way to add handwritten-style accents—letters, tiny words, and doodles—to your manicure without needing steady freehand skills. This guide breaks down key terms, shows you how to apply the stickers step-by-step, and offers practical tips so beginners get consistent results.
What “hand writing” nail stickers mean
In nail art, “hand writing” refers to designs that mimic handwriting or hand-drawn marks: cursive loops, tiny phrases, and sketch-like lines. As a sticker product, these designs arrive ready-made and can be pressed onto polish or a bare nail to create an on-trend, expressive look with minimal effort.
Basic tools and readiness
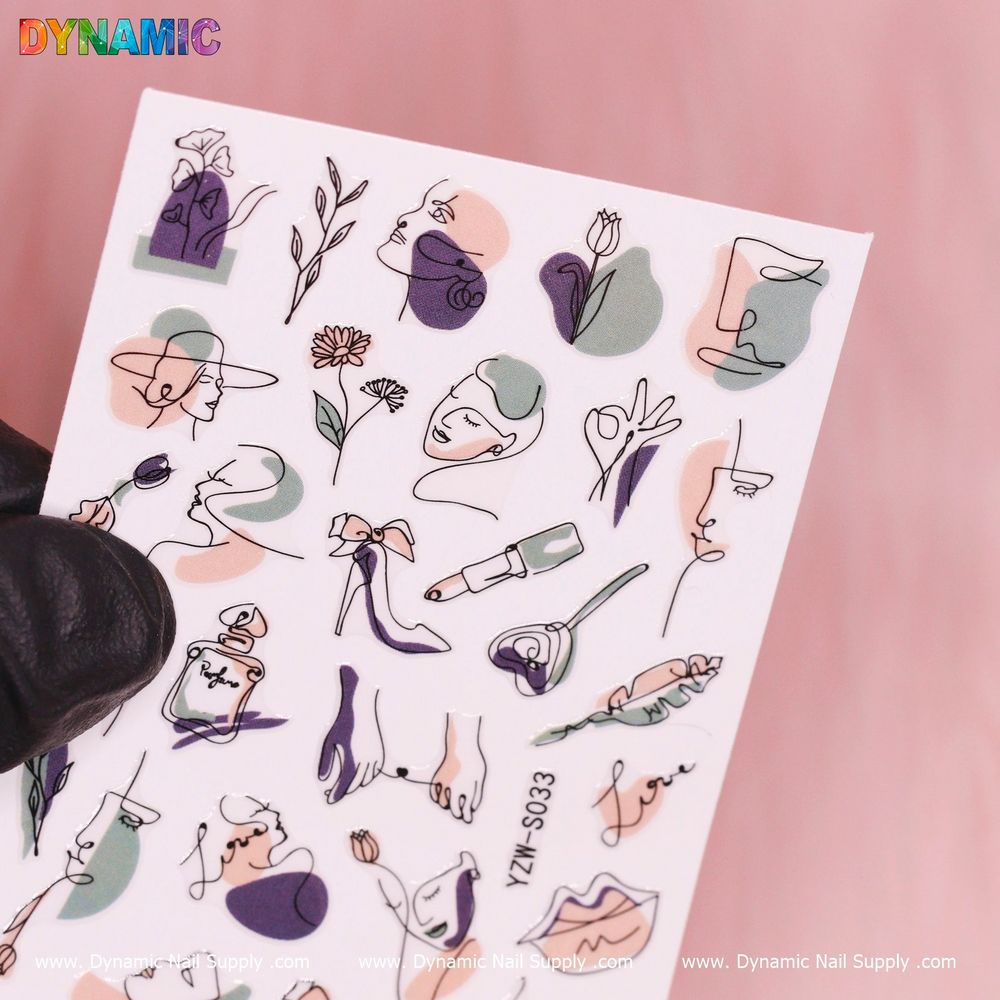
Before you begin, gather the essentials: clean nails, base polish (or tacky gel base), tweezers or a nail pick, small scissors (optional), and a topcoat. Keep everything within reach so the brief tackiness of polish or gel doesn’t interfere with placement. If you prefer shop-supplied options, you can find this nail sticker sheet for a ready-to-use design.
Step-by-step application for beginners
Follow these steps to apply hand writing nail stickers reliably. Take your time and work one nail at a time.
- Prep the nail: Remove old polish, push back cuticles, and lightly buff the nail surface. Clean with alcohol to remove oils—this improves adhesion.
- Apply a base: Paint a thin, even layer of your chosen base polish and allow it to become tacky (or fully dry depending on the sticker instructions). If you use gel polish, cure the base layer as directed but leave a slightly tacky layer only if the sticker maker recommends it.
- Remove the sticker: Use tweezers to lift the sticker from its backing. Handle by the edges to avoid bending or damaging the design.
- Place the sticker: Gently position the sticker on the nail, starting near the cuticle and smoothing toward the tip. For small lettering, centering often looks best; for doodles, slightly offset placement can create an intentional, hand-made look.
- Secure edges: Press down with a soft tool or an orange stick wrapped in tissue to eliminate air pockets and ensure full contact.
- Trim and tidy: If the sticker extends past the nail edge, file or trim the excess carefully to follow the nail shape.
- Seal with topcoat: Finish with one or two layers of topcoat to lock the sticker in place and smooth the surface. Cure if using gel topcoat.
Practical tips for neater results
- Work on one nail at a time: Stickers adhere best when the base isn’t fully set and still tacky. Applying to all nails at once can make timing awkward.
- Use minimal product layers: Thick base or top coats can cause stickers to lift. Thin, even coats protect longevity without bulk.
- Press from center outward: Smoothing from the center to the edges reduces trapped air and prevents wrinkling of the thin sticker film.
- Experiment with placement: A single sticker on the ring or accent nail looks different from scattered text across multiple nails—try both approaches on practice tips first.
Key features in context
As a nail art Sticker product, this hand writing design offers rapid decoration without freehand skill. It’s ideal when you want the appearance of handwritten detail without investing in pens, brushes, or calligraphy practice. Because the stickers are made for nails, they conform to curves more easily than larger decals and are intended to be sealed under topcoat for wear.
Who should use hand writing nail stickers?
These stickers are perfect for:
- Beginners who want stylish accents without advanced tools.
- Busy clients or DIYers needing a fast, consistent result.
- Manicurists offering trendy, temporary accents between full services.
- Anyone experimenting with text-based or sketch-style nail looks.
Care and removal notes
To keep the design looking its best, avoid harsh chemicals and prolonged soaking. A clear topcoat refreshed every few days can maintain shine and adhesion. When you’re ready to remove the sticker, soak the nails in an acetone-based remover or follow your usual polish removal routine; gentle filing can help lift stubborn edges before soaking.
Final thoughts and buying note
Hand writing nail stickers give an accessible way to add personality and handwritten charm to any manicure. They’re low-skill, low-time, and easy to combine with color blocking or minimalist styles. The design called Hand Writing (YZW S033) is available through retailers and was carried by Dynamic Nail Supply; the listed price is $2.00, though prices can change.
Start with one sheet and practice placement on a spare tip to find your favorite layout. Once you’re comfortable, these stickers can be mixed into regular routines for quick, creative upgrades to salon or at-home manicures.