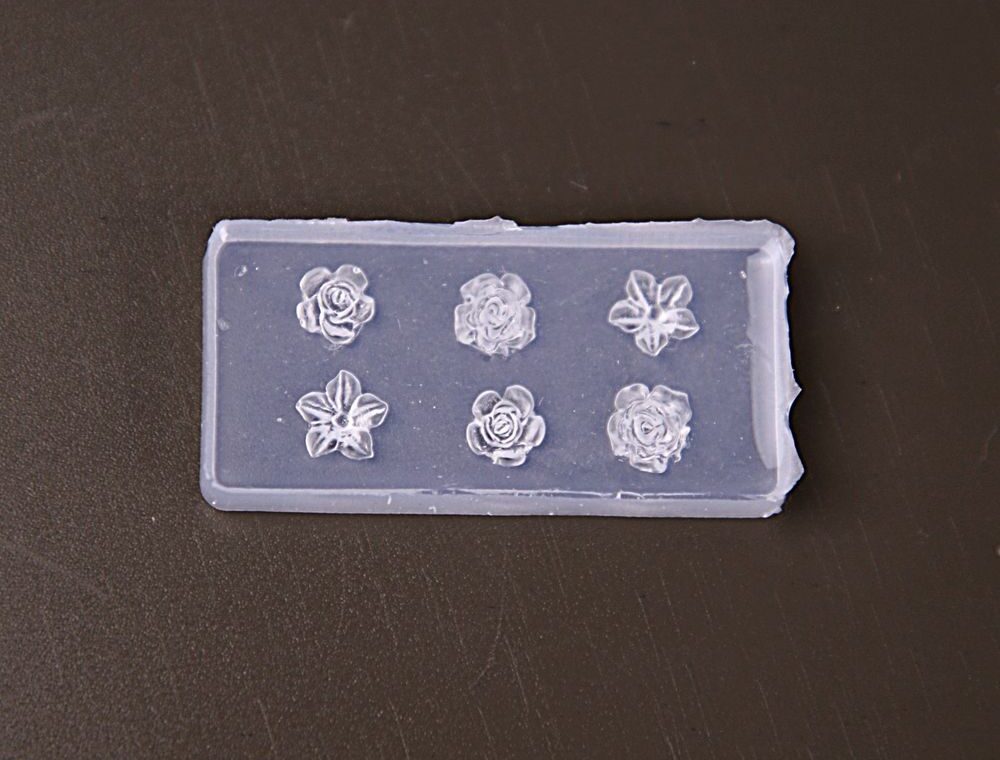
Small, detailed embellishments can transform a routine manicure into a signature salon service—but hand-sculpting every tiny rose or hibiscus takes time. Introducing a straightforward way to add consistent, high-value 3D florals to set services without slowing your chair time.
Keep a dedicated 3D nail charm mold at your station for on-demand charm production so you can deliver embossed decorations while maintaining a steady workflow.
Where this mold fits in a salon service
Use the silicone mold as an add-on step in classic or gel manicures and when building press-on sets. After base prep and primary enhancements (tips, overlays, or gel application), the mold becomes a quick decoration station: form charms, cure, and adhere—usually faster than carving by hand. Because the mold produces precise, repeatable pieces, it’s ideal for clients who want matching sets or multiple nails with identical accents.
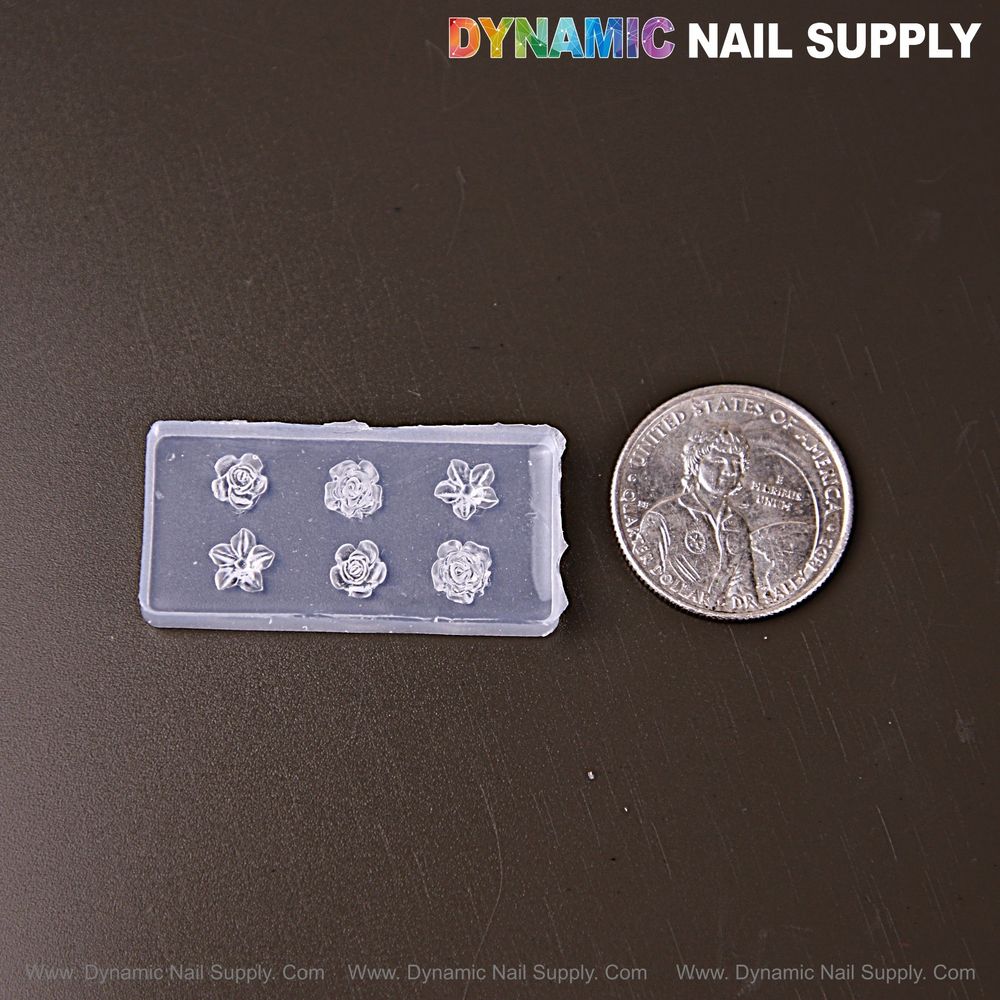
Step-by-step: integrating the mold into a standard manicure timeline
- Prep the nail: shape, cuticle work, and base application as usual.
- Create the primary overlay or polish layer. Leave the area where the charm will sit ready for placement.
- Prepare the mold: wipe clean with a nail cleanser, alcohol, or use adhesive tape to remove dust.
- Fill the chosen cavity with your chosen material (sculpting gel, solid gel, gel polish, acrylic, or compatible resin). Use a fine detailing tool to reach the tiny recesses.
- Squeegee off excess with a scraper card held at roughly 45° to reveal crisp edges.
- Cure the filled mold under a UV/LED lamp (30–60 seconds, adjust for product).
- Flex the silicone from the edges and remove the cured charm with tweezers.
- Place and secure the charm with a suitable adhesive or clear gel, then finish edges with a top coat and final cure (60–90 seconds recommended).
Key features in salon context
- Flexible, reusable silicone: The soft material allows easy demolding so delicate florals keep their detail, reducing breakage and remakes during busy shifts.
- Crisp embossed detail: Tiny rose and hibiscus patterns produce consistent results that elevate client-perceived quality versus freehand accents.
- Multi-material compatibility: Use gels, acrylic, or UV resins depending on the service—this makes the mold versatile across several enhancement types.
- Washable and durable: Rinse and reuse to keep inventory low while delivering many designs from a single tool.
Practical tips to speed service and keep quality high
- Batch charms between clients: fill multiple cavities at once, cure in one lamp session, and store finished pieces on a clean tray for quick application.
- Use a dotting tool or carving pen to push product into tiny areas before scraping—this reduces air pockets and ensures full detail capture.
- When producing very small charms, gently flex the mold instead of pulling the piece to prevent stretching or distortion.
- Combine colors, chrome powders, or micro-glitters in the gel before curing to create ready-to-apply, fully finished charms that cut application time at the nail.
Who benefits most from adding this tool
This mold is a practical addition for technicians who want consistent 3D florals without spending time hand-sculpting each piece. It suits busy salons offering add-on art, technicians producing custom press-on sets, and educators demonstrating embossed techniques. Because it’s simple enough for beginners yet delivers professional-looking results, the mold supports a wide range of skill levels.
Care, storage and safety notes
- Clean the mold after each use with an appropriate cleanser or alcohol and let it dry completely before storing.
- Store flat and away from direct sunlight to preserve flexibility and prevent warping.
- Handle cured charms with tweezers to avoid fingerprints and to keep edges pristine for adhesion.
- When working with UV/LED-cured products, follow manufacturer curing guidelines for each material and avoid overexposure.
Final considerations and ordering note
Adding a small, clear silicone mold for embossed florals is a low-cost, high-impact upgrade to salon workflows. It reduces time spent sculpting, increases consistency across sets, and unlocks quick seasonal or trend-driven add-ons. The item is reusable, easy to clean, and compatible with the common gels and resins used in most salons. Available through Dynamic Nail Supply, the mold is priced affordably; check current pricing as it may change.
With a clear process—clean, fill, scrape, cure, demold, and adhere—you can keep chair time efficient while offering delicate 3D roses and hibiscus that look handmade and premium.